Home Blog Page 13

Shooting and Hearing Damage.

0

A moment of inattention, a lifetime of damage.

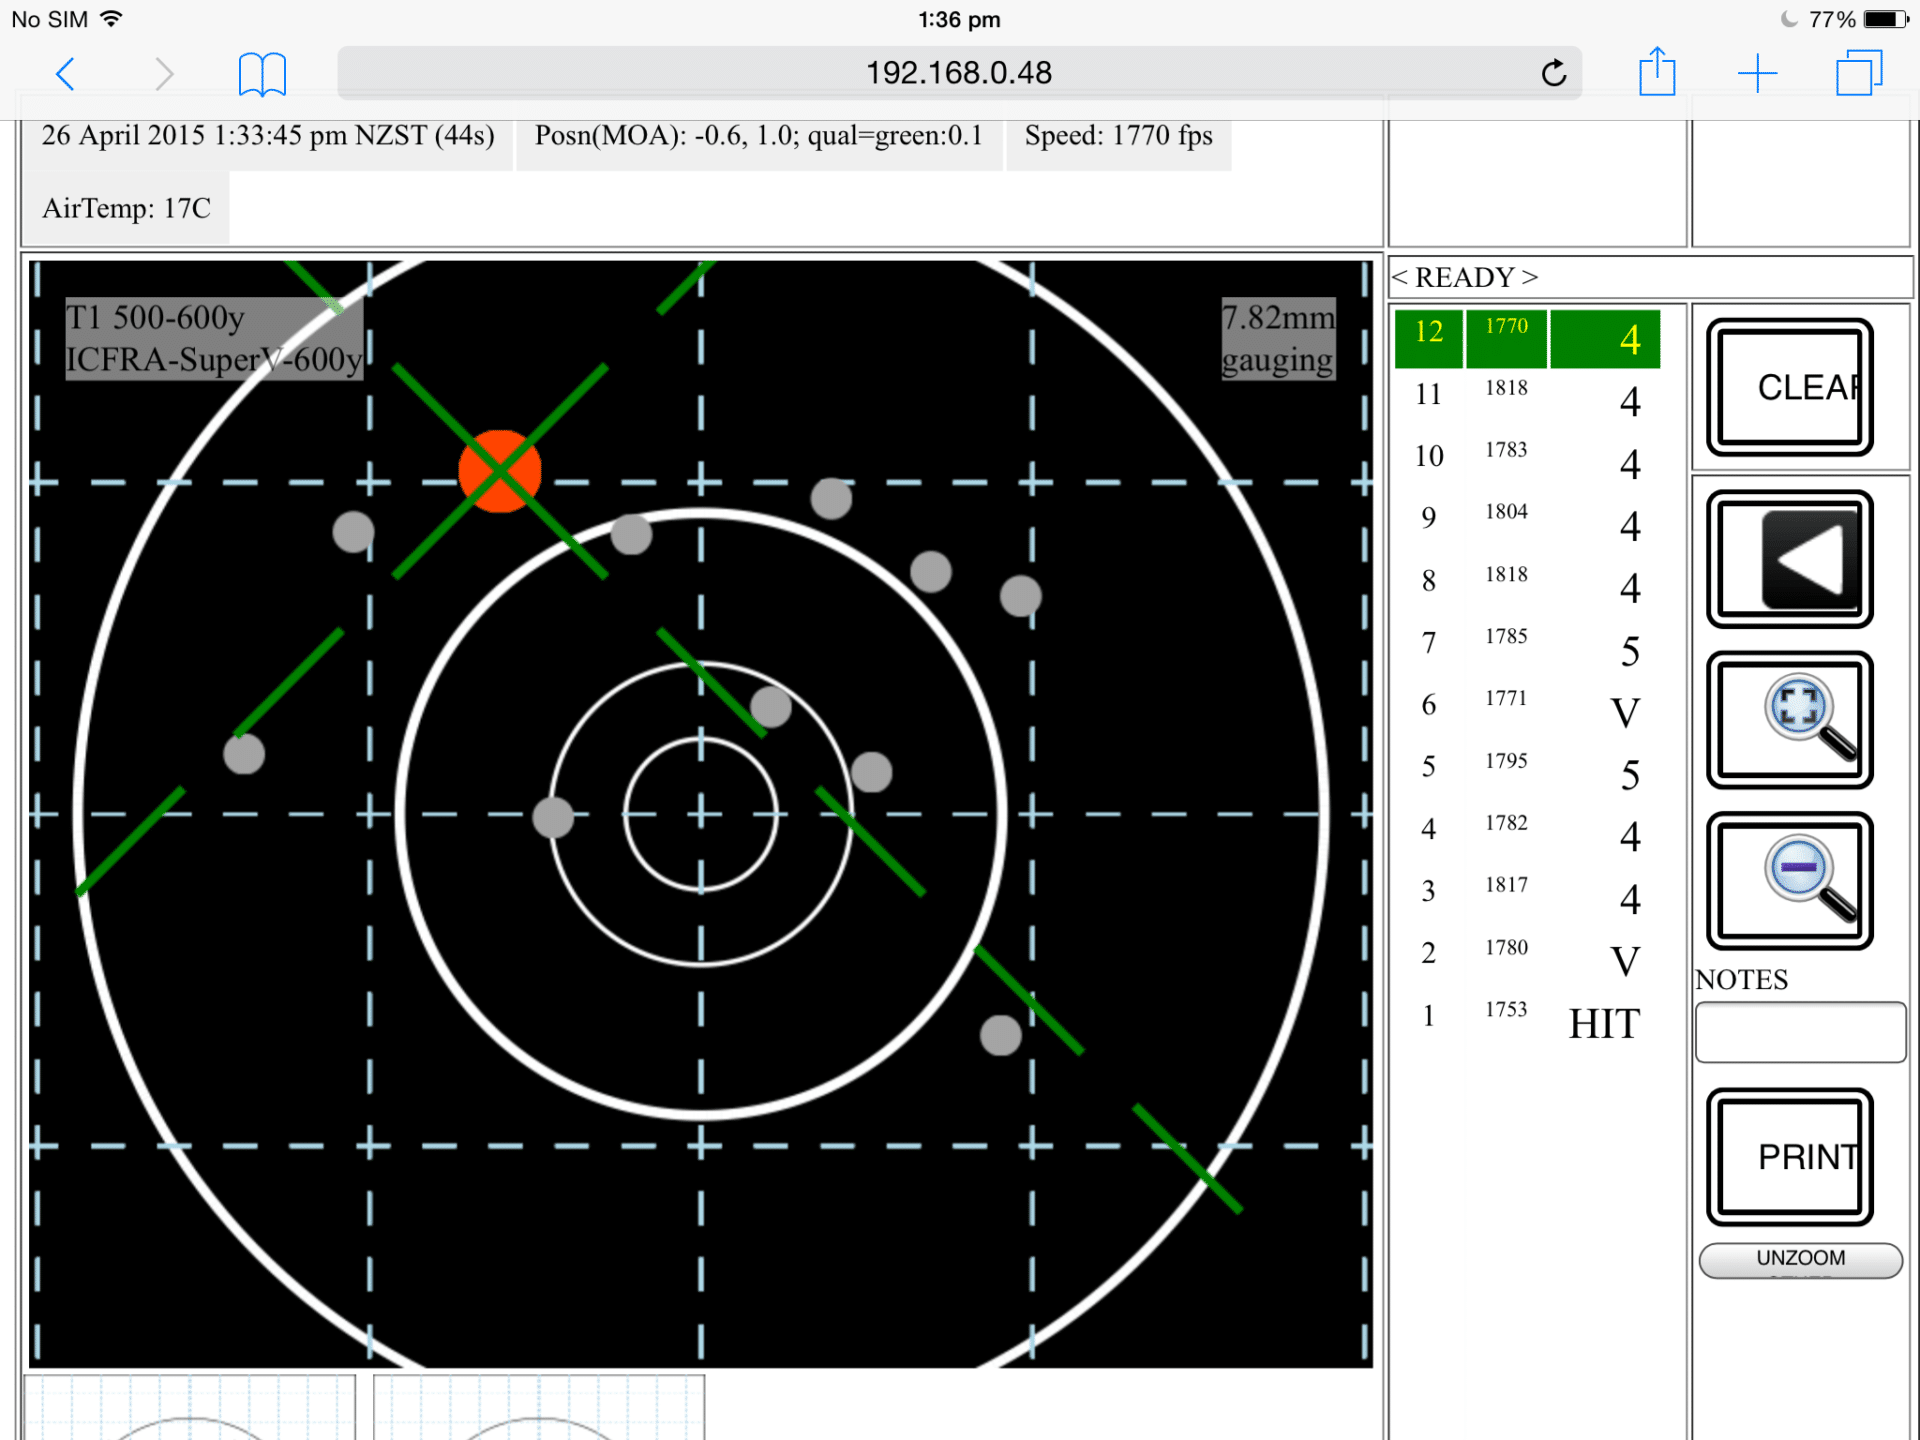
I was filming at the Kaipara Long Range shoot. Great day, got to watch a lot of good shooting. At the end of the day, Christian (the organiser) asked if I would be interested in shooting off a couple of rounds on his M10. Having observed a lot of shooting and not having done any of my own and being presented to shoot a very, very nice rifle set-up, I jumped at the opportunity. Got myself down behind the rifle, confirmed it was dialed in and ready to go, loaded one of the sizable .338 Lapua rounds into the chamber, took a couple of deep breathes, slowly applied backwards pressure on the silky smooth double stage trigger and promptly shat myself.

More correctly, I let of a round with my cans1 still sitting up on either side of my head. The muzzle brakes massive shock wave hit me, instantly driving me into the muffled deafness, punctuated by a loud ringing. I knew there were people behind me reacting as they had realised what I had just done, but it seriously took a terrifying long time before I could make sense of what they were saying.

To put this in context – conversational speech is considered around 65db in it’s sound level. A .338 with a muzzle break is closer to 170db. That’s louder than a jet engine. Not smart.

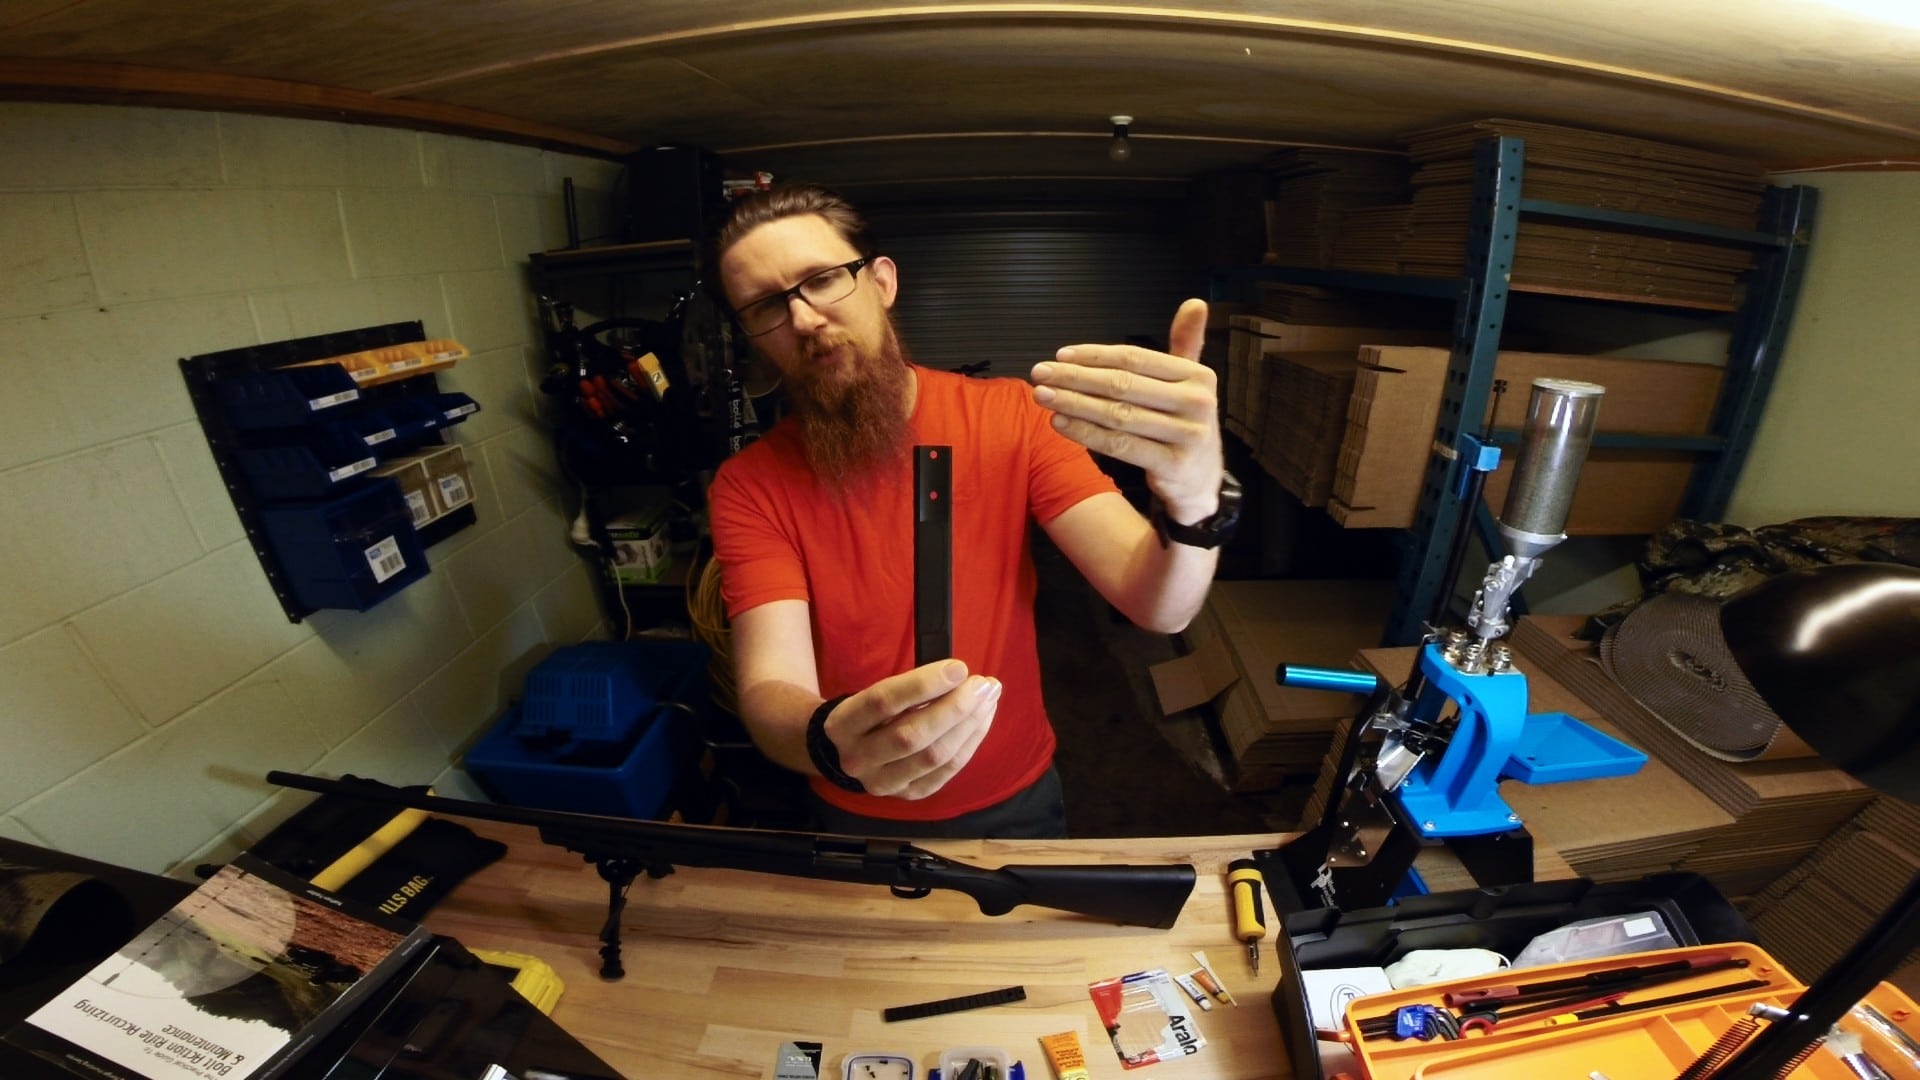
So. In the knowledge that what I had done to myself was at some level permanent, I booked in to see Thomas at Acoustix the next week in order to sort myself some new earplugs. This wasn’t the first time I had visited Thomas, in fact, it was the third – I had previously seen him for some custom moulded earplugs that I had used while working as a sound engineer in nightclubs, as well as for riding around on the motorbike with. When I got into shooting, I got another pair with a filter profile (how the earplugs cut down on sound) more suited to shooting. I had lost one of them around a month ago and this incident was enough to forcibly remind me why I liked to have earplugs over earmuffs – but more on that in part two of this series.

Permanent Damage

It makes me cringe the way some people just seem happy to ‘shrug off’ damage to their hearing. I am not sure if it is arrogance or just ego that causes people to let it happen in the first place, but even worse, do nothing about it once it is identified.

Let’s make this clear – even that occasional ‘one-shot’ that you take without hearing protection on is causing serious, permanent damage to your hearing. It’s just that our brains are quite good at masking the damage until it is so severe that we can’t ignore it anymore. At that point, it’s too late – you can’t bring it back and the only current option to do anything about it is by assisting the hearing with a hearing aid. Except, of course, many Kiwi Males (and it’s mostly the males) have too much pride/ego/stubbornness to admit they have a problem and do anything about it.

I would expect, since you are on this site, you already understand the need for hearing protection and why gunshots are so damaging – if not – here it is simply – guns are loud. Unless suppressed (and sometimes even while suppressed) – the pressure wave from a single shot is enough to cause damage to the fragile systems within the ear. Short, extremely loud noises can be just as damaging as the long exposure to moderately loud noises. It just happens faster!

Little hairs on the inner air, called stereocilia are fragile little things. Certainly, flattening them with a sound wave is not the best idea in the world.

Talking with the experts.

I have talked to Thomas at Acoustix Hearing Technologies, in fact, this will be my third pair of custom earplugs sourced through him. Despite doing something this stupid to my ears, I am, generally, very wary and protective of my hearing. In a previous role, I ran a mastering studio – essentially the last point of call in quality control for audio records before the final release. It was my job to listen, tweak and approve recordings before people put them out for public consumption.

As the same time I was also looking after sound systems for clubs in town. This meant that I was subjecting my ears, essentially my ‘source of income’ to large noise exposure on a weekly basis. I knew if I didn’t look after them, I would be doing them damage and cutting my career very short. So, I met Thomas and got him to make me some custom moulded earplugs. Which will be the subject of the third part of this series.

ACX_Logo-Primary

  1. earmuffs, hearing protection 

OCW Testing with the .308 Build

0

Any day out shooting is a good day.

Be it long-range on steel, short-range with a pistol, or as it was this day, somewhere in the middle testing out loads. Everyone is different, but for me, I enjoy the process, note-taking and evaluation that comes with testing your own reloads and finding out what does, and doesn’t work in your particular firearm.

The forgiving .308

The .308 has stood the test of time for several reasons – the primary has to be acknowledged as its continued adoption by the military in its 7.62 guises. This is partly due to the difficulty with switching something like this to anything new and partly to the fact that it simply works.

The .308 also just seems very easy to work with and very forgiving. Certainly, there are flatter, high BC, longer shooting, harder-hitting, more accurate options out there – but a .308 is generally, in the form of an off the shelf rifle or a custom build – not going to take much to get it shooting well.

Certainly, when it comes to reloading, the cartridge seems to be very forgiving with the loads you feed it. While factory ammo has variations, it’s not massive (in the greater scheme of things) and it’s the same with load charges. A couple of grains often doesn’t make a massive difference, so stable loads, that is, loads that aren’t affected by charge weight variation or temperature are easily found. It’s more a case of deciding how far you want to go to chase the perfect single hole group, versus the time you want to put into it.

Testing the loads

I was lucky to be invited out to a private block to do the tests – I was contacted a while ago by Joe with a question regarding getting into reloading and offered to go through the basics with him, this led to making up some test loads and heading out on a Sunny Saturday to test them.

The weather held out, and we were able to tuck down into a bit of a valley and set up.

A bit of crosswind (from about five o’clock) wasn’t too much of a challenge, and we were able to set up some targets with a good backstop and start plinking away.

The reason for change

I had previously been using ADI 2208 in my loads for the .308. Paired with the Lapua Scenar 155 grains, the more powder I put in and the more speed they came out of the barrel at, the better the result I was getting. However, I was starting to seriously compress the loads. Talking to some of the guys at the range one day, it was suggested a slightly faster burning powder might be worth a try – especially since I was shooting them out of a 24-inch barrel. I had just replaced the stock the action and barrel were in and threaded the barrel for a break, so I figured it was also a good time to rework the load and try the 2206H powder.

Scan

OCW, OCD?

I have used the OCW load method in the past with great success. It helped me find a suitable load for the X-Bolt in 7mm08 and likewise in the .308. One note I would have, specific to my .308 – is the ADI suggested loads in the manual seem very conservative (for good reason). Nearly 2 grains higher than max and still no pressure signs, sticking or any adverse effects on my rifle.

Now, this doesn’t mean I am suggested to just load as much powder in the rifle until you start seeing issues – not at all. Many loads don’t need to be anywhere near the max to work well. However, given the goal with this rifle (to shoot to 1k) and the selected projectile (the relatively light 155) – I had always wanted to push the fps to keep the projectile supersonic out to the one-kilometre mark. In addition, all the reading I had done indicated the Sceners worked better at faster speeds.

So, like my previous tests with the 700 – I will be putting together another set of loads, pushing it up to find another stable node that will give me around 3000fps. All the time, checking and checking again for any pressure signs.

The Results

It would be easy to think that the first load and the last load are the winners. Certainly, it is hard to argue with a group that are all touching each other. But we need to remember when testing using the OCW method, that we are after stability, not over smallest group sizing.

I use the OnTarget TDS software – scanning in and loading up the multiple shots to provide some excellent data-crunching capabilities.

Delving further into the information though, the distance between the first and second load was the smallest – that is, the difference in distance the POI shifted between loads, followed by the difference between the two last. That starts to indicate the stable loads.

What next?

Put together another batch of loads – basically carrying on where the last load was. I would pick I am going to find one more node higher up in the load weights before I start seeing any pressure issues. A quick shoot over the Magnetospeed will confirm if I am up at the velocities I want, then we can start work on refining the group with OCL changes. However, this will be limited by the fact I want to keep the rifle capable of magazine feeding.

Picatinny Rail Installation

0

I am getting closer to actually firing the new rifle! Wowsers.

Most modern Bolt-Actions don’t come with any form of sights on them. The days (and practicality) of using Iron Sights for long-range shooting means that most rifles come with mounting holes, and not much else.

So it was time to install something to mount some optics onto.

Picatinny Rail or 2-Piece Base?

The first decision was between using a more ‘traditional’ 2-piece base, where the mounts are individually fixed to the rifle action or a one-piece Picatinny rail.

Uni-Rail-3

I chose a Picatinny rail for a couple of reasons. Firstly, one-piece pretty much (barring manufacturing defects) ensures there can be no misalignment between the two bases – a great way to start transferring some stress from the bases to the rings and to your scope itself. One-piece means that the rings have a ruler-straight aligned from the start. This also reduces the likelihood of having to lap the rings

Secondly, I recently picked up a Picatinny rail mount for my go pro – so it also means I am going to be able to mount the camera on the system as well. I am in all likelihood also going to get a bit of rail installed under the bipod area – but this gives me options. I like options.

Rail

Steel or Aluminum?

Having decided on a Picatinny rail, the next choice was steel or aluminium. In my case, I am not trying to save weight – this isn’t a mountain rifle – so I went with the heavier, sturdier steel. You can read online more if you really want to know about the implications of mixing steel and aluminium bases and rings, or the theories on metal expansion under heat – but for me – I am working on the simple premise of heavier and sturdier is better.

Mounting

While you could just screw the rail down onto the top of the action, I wanted to ensure I was setting it up for the most solid base possible. Using an epoxy resin ensures there is a great surface bond between the two.

As always – with Nathan Foster’s excellent book I set to making my 700 as accurate as it can be.

Timney Trigger Installation

0

As part of my ongoing 700SPS Rifle Accurising project, I knew from the outset that I was going to be replacing the trigger. The X-Mark Pro has had bad reviews – hell – they even recalled many of them – so, even without bothering to fire it, I replaced the trigger.

I was initially thinking of using a Jewell instead of a Timney Trigger, but then considering a Jewell was going to cost me around $550 to $600 – I thought, keeping in line with the rest of the build (mid-priced) that the Timney would be the more appropriate option, and the Jewell can go in the future, custom build.

Install is simple enough – it just takes punching out a couple of pins, putting the new trigger in and then replacing them. My biggest challenge is hunting down a trigger scale to set it at 1.5lbs.

I am no gunsmith, but in about an hour and it was done. I needed to take a little out of the stock where the adjustment screw for the Timney Trigger was pushing up against the stock – I don’t like the idea of ‘jamming’ something into fit. But a little bit of work with the Dremel, and we were done.

Even without shooting it, the feel of the trigger is much better.

Here is a good link to a great article about Timney and it’s production methods. It’s a great article – and a very organised and tidy looking workshop!

700SPS Centerfire Rifle Accurizing – Bore Inspection and Lug Lapping

0

With Nathan Foster’s ‘Bolt Action Rifle Accurizing & Maintenance‘ in hand, I started the first step in preparing my new centerfire rifle Rem 700 build. First up was an initial inspection of the rifle bore and action and testing that we had good, even lug engagement.

Bore Inspection

It’s dangerous to assume that a brand new barrel is going to be sound and of optimum quality. Especially for mass produced centerfire rifles. Anyone involved in an engineering or production process will know it is easy for something minute to effect a run and how easily, in reality, it is for one or two barrels to slip through the QA process before these issues are identified and rectified. So, it becomes imperative that one of the first things you do is check out your new barrel for any obvious issues. A damaged barrel is going to kill any chance of centerfire rifle accurizing early on.

Nathan stress this importance – so first of the block, was a flashlight and a macro lens (a magnifying glass is another good option) to check out the state of my new barrel.

Realistically, most of us don’t have a borescope at home. Maybe one day. But what this practically means is we are limited to inspection of the crown and the bore area just in from there.

The camera was struggling to get a decent shot this evening, but primarily we are looking for marks in the lands and grooves. These are caused by part of the manufacturing process, and depending on their nature and severity can sometimes be corrected in the break in procedure.

I wasn’t able to spot anything major in the process – as should be the case with most new rifles – but it’s not unknown.

Lug Lapping a centerfire rifle

The second step of the ‘pre-checks’ for centerfire rifle accurizing was to establish the bolt’s locking lugs even contact. Correct lug alignment ensures proper support of the cartridge during firing. Again, not something that should be assumed correct.

The testing procedure is simple. Draw on the back edge of the lugs with a marker pen of some kind. I just happened to have red handy. Put the bolt in and work the action a couple of times. If one of the lugs has the marker pen rubbed off, but not the other, then you have lugs which need a bit of work.

The next step was pulling the action out of the stock and having a quick check everything was as it should be. I knew the stock was light, but I was interested to see what it looked like underneath. Hello, Honeycombs!

I can see why it’s strongly suggested you do something with the standard SPS stock. It’s light and hollow. Not exactly the best platform for a Long Range Rifle Accurizing project.

Stock and Trigger

I will be stabilising and then bedding the plastic stock of the SPS centerfire rifle. While many people do replace them, I have read that by using Nathan’s stabilising and bedding compound you can achieve a good level of accuracy with the stock, stock. It’s also a cheap stock to do my first bedding work on – if I cock it up totally, then I can just get a new stock without breaking the bank.

While I could just stabilise and bed the stock before shooting – I am going to do some before/after tests – I am interested in seeing the difference it makes to a centerfire rifle.

What causes flyers?

0

A flyer!

We all know the feeling – you have just shot a string of touching holes and out of nowhere – a flyer! A single solitary hole that decides to ruin all your hard work!

Flyers, as they are known, are seemingly random shots within groups.

But first – a thought on group sizing. To me, three rounds is not a group. Statistically, you need much bigger sample sizes before you can really draw any conclusion from it. In fact, I tend to average over ten shots for things like my zero. Unless you are shooting with a captive rifle (i.e. you don’t touch the thing at all) – our input into the shooting is always going to be much, much more than most people seem to want to admit.

By increasing your group sizing you are evaluating things on, you start to differentiate between an actual, random flyer, or the fact you statistically had a run of shots on one side of your distribution average followed by one at the other extreme.

So, what are some of the variables that can cause flyers?

Well. Anything that varies from one shot to another has the potential to cause an issue. Let us break them down into three main groups – the shooter, the gear and the environment.

The Shooter

I always get these random flyers when I am out shooting!

Well. If you always get them, are they so random?

  • Natural Point of Aim
  • Sight Picture
  • Hold
  • Trigger Control
  • Follow Through

Any one of these things can cause the ‘random’ flyer. Unless you can one hundred per cent guarantee that you shot each time, every time, the same. This is most likely your issue. Does the flyer always seem to come at the same point in a string of fire? It might be the gun heating up; it might be you forgetting to apply the fundamentals every time.

However. Let’s say you have your shooting nailed – and you can reliably call your shots every single time. A called or pulled shot – well, is it still a flyer?

The Gear

Consistency is the key to reliable, repeatable shooting. The more you can remove these variables the more we reduce the likelihood of something getting introduced into the groups that you are not expecting to be there. This is the difference between my ‘hunting’ loads and my ‘target’ loads. Slowing the process down, measuring out every single load, sorting, trimming, checking consistency.

It also depends on how fastidious you really want to get. You only need to look at the BR shooters to get an idea of how fine into the details you can get – have you measured your brass by both weight and internal capacity? How about sorting all the projectiles into similar weight classes? Have you trimmed the necks on your brass to ensure consistent neck tension? Do you measure every round for concentricity?

  • Neck Tension
  • Seating Depth
  • Bullet Diameter and length
  • Primers
  • Brass
  • Powder

In regards to the rifle itself?

  • Loose action screws
  • Scope / Ring Screws
  • Poor crown
  • Warped Barrel
  • Poor Bedding
  • Scope Parallax

Again, things that would cause a ‘constant’ issue – but could also cause the occasional random flyer.

The Environment

We should all be aware the heat affects our ammo – causing changes in temperature. Depending on the firearm, a string of fire can be enough to cause significant shifts in POI. For example – say you fire three rounds off, leaving the bolt open between shots. The forth round, just before you pull the trigger, you get distracted/notice something/need to sneeze/whatever and end up leaving that round in there for longer than the rounds before, or the rounds after. The cartridge sitting in a hot chamber now likely has a different pressure output than anything else you are going to shoot today, potentially leading to a flyer. This might not even be something you consciously register at the time.

  • Temperature Changes
  • Wind changes
  • A target flapping in the breeze

In short – there are many, many things that could be causing a flyer. It becomes a case of systematically removing variables to identify what is causing them. Or. You could learn to live with occasional flyers and not loose any hair over it.

Range Day – Akarana-City Rifle Range – 400/500/600

0
600 Yards.

It was time to stretch the Remington 700 Build out a little further. While shooting at the North Auckland Deerstalkers is a great way to develop shooting skills and loads, it is limited to a 200 meter distance. I was very keen to try shooting out to longer distances. While having a conversation with one of the guys at the Deerstalkers, Akarana-City Rifle Range came up in the conversation.

A quick look up online, and I was headed of for a Sunday shooting at 400, 500 and 600 yards!

The range is setup in a block of land out towards Huia. The targets are set, and increasing distance is a simple matter of heading further out along a flat stip of land. It meant that changing from one range to another was a relatively quick process.

Also speeding things up with the electronic target reporting system. Each shot is instantaneously sent out to a server – and any tablet with a browder (even my phone) can log on and check out the shoots as the land. It took me a little bit to get used to – and it’s set up in MOA not MIL, but once I got settled in, it was a really awesome system to use.

500 Yards.

400

At this point, I was still getting used to the setup and really ended up a little muddled with what was going on. I was alternating between holding over and dialing for wind – and think at one point was correcting totally the wrong way.

500

Much better. Understood the target system a bit better, was relying on, and letting the dials do the work and managed to get a bit more in tune with the shooting. Best target of the day.

600

Wow. So much to learn about wind calling. Realistically, with a .308 – wind isn’t much of an issue at 100 or 200 meters – but at 600 yards? Yeah – it was getting blown about a bit. Still – managed to get it on the paper – which was really my biggest concern of the day.

500 Yards.

I will be back!

Certainly, wind was the most challenging aspect of the day.

Watching four flags all flapping in different directions certainly confused the brain. Only one way to learn though – shoot more!

They guys there are extremely welcoming. It’s a relaxed, but focused time out there. They guys obviously enjoy some good banter – but also all know their stuff and know their shooting. The gear out there ranged from an open sighted wooden stocked F Class rifle, to a .338 with a muzzle break, to custom made space guns. Heaps of advice and fun to be had.

I will be heading back out in a fortnight to shoot 700 and 800 yards.

Shooting Units: Ballistic Coefficient (BC)

0

What is a Ballistic Coefficient?

At some point, you have probably heard the term Ballistic Coefficient. People on ranges love to compare and argue about what bullet have a better BC. But what does it actually mean?

In the simplest terms, it’s how well the bullet cuts through the air. High BC, less drop and wind deflection, better performance.

It is directly related to drag. Drag is related to the section density – the weight and calibre of the projectile.

But more correctly, the Ballistic Coefficient is how well the bullet maintains velocity compared to a set standard.

The G1 Standard

Back in the 1800’s, the military was looking for easier ways to define and compare projectiles performance. Unlike modern times, where we have ballistic solutions available within seconds on our phones, all the maths needed to be done long hand in written form. In order to speed this process up, it was decided to set a standard projectile and then have other projectiles compared to this. Giving an ‘easy’ way of comparing the projectiles.

g1

The G stands for Gâvre Commission of the French Naval Artillery – and the standard projectile became known at the G1 Standard Bullet. The projectile was one pound in weight one inch in diameter.

The G1 model is still the one most commonly used by manufacturers when calculating Ballistic Coefficient.

There is a problem with that though. The G1 model is significantly affected by velocity. Meaning the Ballistic Coefficient is actually going to change significantly while in flight. So, you either have to express the Ballistic Coefficient using the average velocity of the G1 model, or you express multiple Ballistic Coefficients depending on the velocity the projectile is at. Head hurting yet?

But my projectile looks nothing like that?

True. Over time, additional shapes were added to the standard – G1 was joined by G2, G3, G4, G5, G6, G7 & G8. The G7 you might be more familiar with.

  • G1 – Standard model, Flat Based with 2 caliber (blunt) nose ogive
  • G2 – Special model for a long, conical point banded artillery projectile with a 6 deg boat tail. Not generally applicable to small arms.
  • G5 – For Moderate (low base) Boat Tails – 7 deg 30′ Tail Taper with 6.19 caliber tangent nose ogive
  • G6 – For flat based “Spire Point” type bullets – 6.09 caliber secant nose ogive
  • G7 – For “VLD” type Boat Tails – long 7 deg 30′ Tail Taper with 10 caliber tangent nose ogive
  • G8 – Flat base artillery projectile with similar nose design to G7. Also applicable to small arms projectiles
g7

G7 is generally considered much closer, and therefore more accurate of a representation. The model is less affected by velocity, due to it’s shape. Meaning you remove one variable that’s possible when comparing projectiles.

Here is the issue though. Everyone has been using the G1 for a long time. The real kicker? If you use G7, to be a better, more accurate representation, your projectile is going to look like it has a worse projectile than one expressed using G1. For example, if a bullet has a G1 BC of .550, the G7 BC will be close to .282 (same bullet). Can you see the potential issue here? Marketing. Who in their right mind would shift to a system that was going to make them look worse than their competitors! Thankfully, many manufacturers agreed that it was time for a better system and now publish both G1 and G7 Ballistic Coefficient. The key of course, it to now ensure you are comparing projectiles using the same system. Otherwise, you will just end up with totally wonky results. Thanks to the work of guys like Bryan Litz – we have a much better system to compare projectiles by.

This only a very, very brief primer on the subject. You can read for months on this particular subject. While it’s an important one, you should also remember, that just because a projectile has a high BC, it doesn’t actually mean it is the right bullet for the job. Though for long range target shooting – it is one of the key considerations.

Shooting Units: Twist rates and your barrel

0

A preface to twist: rifling

Before we talk too much about twist rates, we also need to talk about rifling – the mechanism that creates the twist.

Rifling refers to the groove in a barrel of a firearm which causes the bullet to spin as it leaves the firearm. Spin creates a gyroscopic force which in turn stabilises the projectile while in the air – it’s similar to the concept behind spinning a wheel and holding it by its axis – it naturally want’s to return to an up and down alignment – the spin is creating its own stability.

Twist – imperial strikes again!

Twist rate is the distance the rifling takes to complete one full revolution – expressed in inches – i.e. 1 in 10, 1 turn in 10 inches. Shorter is faster and imparts a faster spin rate.

Bigger Bullets, more spin required

Generally, the bigger (longer, which means heavier) the projectile, the more spin it is going to require to stabilise it. A 168 grain projectile is going to need a much short twist rate than a 60 grain.

When it comes to design considerations, manufacturers will often match a barrel and caliber so that the twist rate is going to be suitable to stabilise the majority of projectiles the owner is likely to want to shot through it.

To little twist rate and the bullet can start to tumble mid flight – the results in keyholing targets – where the bullet cuts rectangular shaped holes in the paper. Accuracy also goes out the window. Too high and you can start damaging the barrel and potentially cause the projectile to basically self destruct mid flight as the jacket starts to spin apart.

Bullets Twist 224

Did you know your bullet is actually bigger than your barrel?

It’s an interesting thought. When we pull the trigger, pressure quickly builds and results in the projectile heading at high speed down the throat towards the rifling. At this point it will have expanded slightly from the pressure and enters the rifling. The projectile now gets ‘engraved’ by the rifling – beginning the spin.

This is why some firearms have freebore – freebore helps keep the pressures low by having the gas expand before the projectile engraves. However, minimising this freebore can mean more accuracy – it reduces the potential for the projectile to distort before entering the rifling.

Getting the right twist rate

For most off the shelf rifles – twist rate is going to be already matched to common projectiles by the manufacturer. However, if you have a specific use in mind, which can lead to a specific bullet weight, then it won’t hurt to also check that the twist rate is going to be optimal.

These days there are plenty of online calculators (such as here) – the formula used is called The Greenhill Formula.

T=150(d/r), where T is the twist rate, d is the bullet diameter, and r is the bullet length to diameter ratio (bullet length divided by its diameter). For cartridges with a muzzle velocity of more than 2,800 fps, substitute 180 for 150.

Let’s use a common example – .308 168 grain Sierra Matchkings. That’s .308 diameter and 1.210 long. 3.929 ratio.

T =150 x (.308/3.929) = 150 x 0.078 =11.76

That’s an ideal twist rate of 1:11.76 – close to 1:12 – a common twist rate for .308 rifles.

That’s a match for my new Rem700 Varmint in .308 – also why I am going to start my reloads based on a 168 Sierra Projectile. It also means I likely won’t have much luck going any heavier in projectiles.

Common twist rates by calibre

.17 HMR = 1 in 9″
.22 Long Rifle = 1 in 16″
.222 Remington = 1 in 14″
.223 Remington = 1 in 12″
.22-250 Remington = 1 in 14″
.243 Winchester = 1 in 10″
6mm Remington = 1 in 9″
.240 Wby. Mag. = 1 in 10″
.25-06 Remington = 1 in 10″
.257 Wby. Mag. = 1 in 10″
6.5×55 Swedish Mauser = 1 in 7.5″
.260 Remington = 1 in 9″
.264 Win. Mag. = 1 in 9″
.270 Winchester = 1 in 10″
.270 WSM = 1 in 10″
.270 Wby. Mag. = 1 in 10″
7×57 Mauser = 1 in 9″
7mm-08 Remington = 1 in 9.25″
.280 Remington = 1 in 9.25″
7mm WSM = 1 in 9.5″
7mm Rem. Mag. = 1 in 9.25″
7mm Wby. Mag. = 1 in 10″
.30 Carbine = 1 in 16″
.30-30 Winchester = 1 in 12″
.308 Winchester = 1 in 12″
.30-06 Springfield = 1 in 10″
.300 WSM = 1 in 10″
.300 Win. Mag. = 1 in 10″
.300 Wby. Mag. = 1 in 10″
7.62×39 Soviet = 1 in 10″ (Ruger)
.303 British = 1 in 10″
.32 Win. Spec. = 1 in 16″
8×57 JS Mauser = 1 in 9.25″
.338 Win. Mag. = 1 in 10″
.340 Wby. Mag. = 1 in 10″
.357 Mag. = 1 in 16″
.35 Remington = 1 in 16″
.35 Whelen = 1 in 16″
.350 Rem. Mag. = 1 in 16″
.375 H&H Mag. = 1 in 12″
.378 Wby. Mag. = 1 in 12″
.416 Rem. Mag. = 1 in 14″
.416 Wby. Mag. = 1 in 14″
.44 Rem. Mag. = 1 in 20″
.444 Marlin = 1 in 20″
.45-70 Govt. (Marlin and Ruger rifles) = 1 in 20″
.450 Marlin = 1 in 20″
.458 Win. Mag. = 1 in 14″
.460 Wby. Mag. = 1 in 16″

OCW Testing take 2: OnTarget TDS

0

After my previous testing out at the range, trying to determine OCW, I reloaded another set of rounds headed out to the range to shoot them off then came back and collated the information in OnTarget TDS.

OnTarget TDS

OnTarget Target Data System (TDS) is an extremely useful piece of software produced by Jeffrey Block. It is essentially the up-speced version of his OnTarget software, adding automatic target recognition, multiple target overlaying, OCW measuring and several other features.

I had been using his OnTarget software for a while – scanning in my targets and using the program to calculate things like MOA. It has also become a really nice way of cataloguing my shoots. I simply scan it in, identify my POA and shot holes, and can also note down things like load, conditions and other factors. Saving it as either it’s native format, PDF or JPG, I now have a digital record of all my targets – no need to store and retrieve the paper later.

Collating Data

Where TDS nicely steps up, is that it enables to to load in multiple targets and overlay them on one screen. The individual group information is still available, but it also lets you get an overview of a days shooting. For example – in the target below, we have a combination of 27 rounds, shot at multiple targets with no adjustments made on the scope.

TgtGfx

While some people would zero a scope of a 3 group shot, I now have data for a 27 round group that I can base my adjustment off. The reality is I wouldn’t for this particular example – as there is a variation in load going on (it’s my OCW test) – but once I have settled on a load – keeping this data means I can build up a true profile of the randomness inherant in what happens when you pull a trigger. In the end, it is going to be much closer to a true zero than firing of 3 shots and then adjusting.

TargetCombined

Automagically entering targets

If I wanted to, I could print off the internal targets and then scan them into the system and the software would identify and record all the shots for me. However, to do this, you need to be using one target per shot. You can print targets with multiple targets on it, and then cycle through the page, and while this is the plan eventually, but I will be honest when I say that I don’t have the personal accuracy right at this moment to pull that off. Soon though. Soon.

In the meantime, it doesn’t take me too much longer to enter them in. I also personally like the idea of printing off the targets in A3 size – which you can’t do within the program at the moment.

OCW Analysis

Another feature of the software, once you have loaded in a round robin of groups, is that the software will chart the OCW patterns for you – I use the example on his site because it is a lot clearer than mine –

TDS_Data4

If you understand OCW as a concept, then you can also see how this makes it a lot easier to identify where you want to be continuing to develop you loads. In my case I will happily admit its more my shooting that is causing the spread. However, it did have a very interesting result. According to the software, my smallest ADC or shift in POI between strings is also right where the group closed up. Now, this isn’t remotely how OCW is designed to work. It’s either fluke or coincidence. However, it’s also where I am planning on basing my nest set of loads around. I am actually going to pick a mid point on powder weight, then start playing with OCL to see what happens.

Of men and rests

I have also decided I really need to replace the bulls bag. While it is a great solid rest, it is also too low, and while I could drag along a big slab of granite to lift it up, I figure I might as well just get something like a Caldwell Rock BR and be done with it.