So, the initial load development went out the window when I created my first batch of rounds to fire and confirm. After shooting off around ten rounds, I started to get a sticky bolt lift, and, before long, a failure to extract as well.
The brass had started flowing down into the extractor pin on the bolt head, holding it back and causing the brass not to pop out of the action on pulling the bolt back.
Manually having to extract the round not going to be an acceptable process, so I quickly tried backing off the load until I didn’t have the problem anymore. In the end, unless I backed the pressure right off, to the point of around a result of 2650fps (pointless for a 6mm Creedmoor) – I was still getting it. What was going on?

Back to the drawing board.
After a fair bit of mucking around and a few conversations with the folks at Peterson Cartridge Company – we came to the conclusion that I had a ‘tight’ chamber and that, combined with Peterson’s thick necks on their brass – was causing the pressure issues. Essentially, the bullet was having to push ‘through’ the brass as the throat on the chambering wasn’t letting it expand enough.
So. Options were to ream the chamber out further (it shot fine with factory ammo, so it wasn’t super tight), swap the brass I was using (and throw away 150 odd pieces of Peterson) or, neck turn the Peterson down just a small amount to give the brass a bit more room to expand in the throat of the rifle and let the round escape a bit easier.

Neck Turning
Neck Turning is something I have tended to avoid in the past. After talking to Robin from Redding Reloading years ago – it seemed something to avoid unless needed – like due to having a ‘neck-turn’ chamber.
However, all in all, it seemed the easiest of solutions. So. Time to have a play and see what we got.
Initially, I had a couple of thousand turned off a sample to see if it would help. It was a rather quick process, and, while the brass did show fewer signs of pressure – it also fouled a lot more – indicating to me that we had actually thinned the necks out a bit too much and we were now seeing gas coming back past the brass and fouling up the rounds.
Back Off
So. I got out the micrometre for the second lot, backed off the turner and tried again.
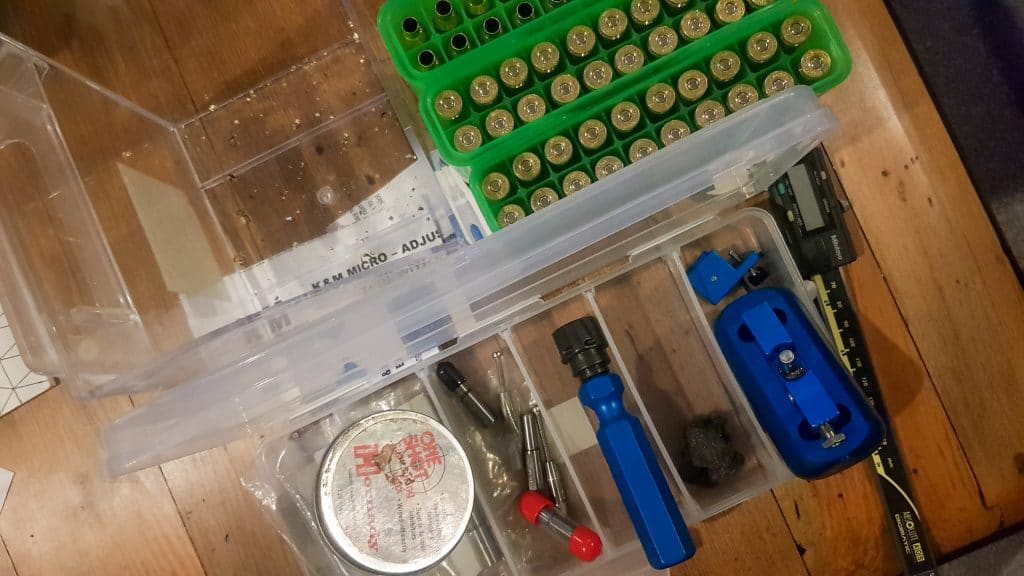
Neck turning can be a time-consuming process. That is why I have avoided it in the past. I am not bench rest shooting – so the potential gain has never seemed to warrant the extra work. However, being that I was going to have to do around 150 rounds – I thought mechanising things was going to be the only way.


However, I also decided to go by the book in regards to the brass preparation this time as well. Order of operations was:
- Full size resize using a non-bushing die (Redding)
- Trim and Clean
- Expand using the neck-turning expanding mandrel
- Turn, trimming off around 1 thousand of the neck
- Clean
- Load
- Test
- Win! (I hope)
And… test again.
I was fairly confident we were going to be in a sweet spot now. So made up another batch of ammo, at the charge I was previously seeing the overpressure signs. Simply put, if the load couldn’t deal with pushing the Bergers out at 3k – then I was kind of resigned to having to switch to another brass brand and starting again.
So – headed down the line to a spot we are looking at holding some courses and competitions at – I found the perfect environment to test for pressure signs – a wet, misty day!
And, well… no issues! Good times! No pressure signs, brass we still ‘relatively clean after shooting. We seem to have a winner!


So. Now the load development can start again. Because the neck thickness is now different, I also need to run another through the AZTEC mode on the AMP Annealer, and, to play safe – I will start from slightly backed off compared to where I was and see what I can now get out of the rifle before pressure signs. Again. 😉
Ah. Reloading, it’s like a merry go round of, well, shooting.


