I am getting closer to actually firing the new rifle! Wowsers.
Most modern Bolt-Actions don’t come with any form of sights on them. The days (and practicality) of using Iron Sights for long-range shooting means that most rifles come with mounting holes, and not much else.
So it was time to install something to mount some optics onto.
Picatinny Rail or 2-Piece Base?
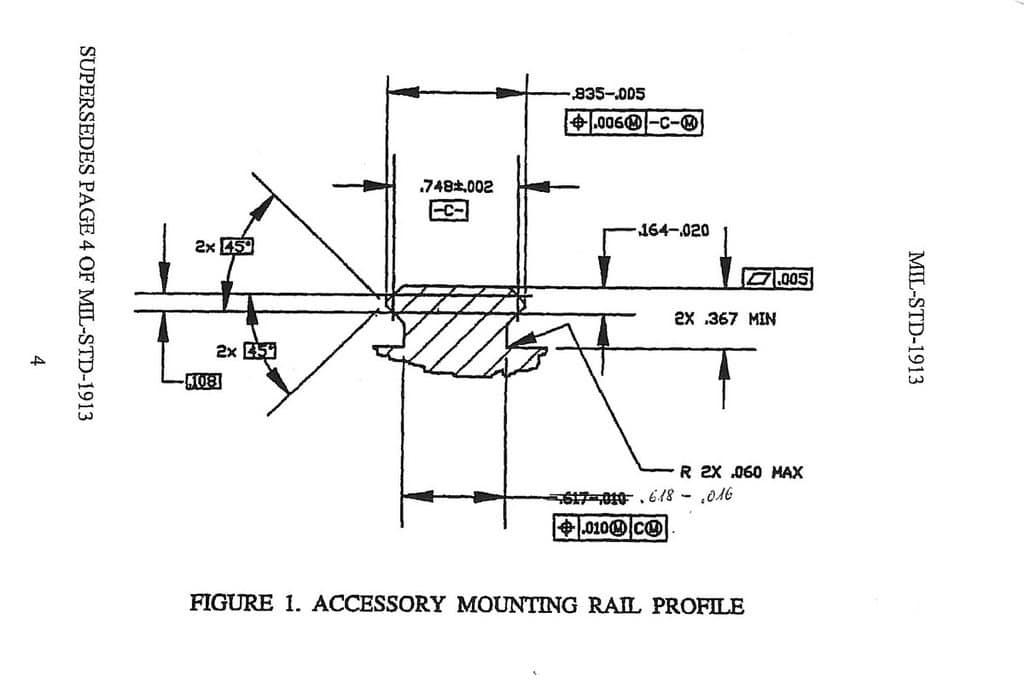
The first decision was between using a more ‘traditional’ 2-piece base, where the mounts are individually fixed to the rifle action or a one-piece Picatinny rail.

I chose a Picatinny rail for a couple of reasons. Firstly, one-piece pretty much (barring manufacturing defects) ensures there can be no misalignment between the two bases – a great way to start transferring some stress from the bases to the rings and to your scope itself. One-piece means that the rings have a ruler-straight aligned from the start. This also reduces the likelihood of having to lap the rings
Secondly, I recently picked up a Picatinny rail mount for my go pro – so it also means I am going to be able to mount the camera on the system as well. I am in all likelihood also going to get a bit of rail installed under the bipod area – but this gives me options. I like options.
Steel or Aluminum?
Having decided on a Picatinny rail, the next choice was steel or aluminium. In my case, I am not trying to save weight – this isn’t a mountain rifle – so I went with the heavier, sturdier steel. You can read online more if you really want to know about the implications of mixing steel and aluminium bases and rings, or the theories on metal expansion under heat – but for me – I am working on the simple premise of heavier and sturdier is better.
Mounting
While you could just screw the rail down onto the top of the action, I wanted to ensure I was setting it up for the most solid base possible. Using an epoxy resin ensures there is a great surface bond between the two.
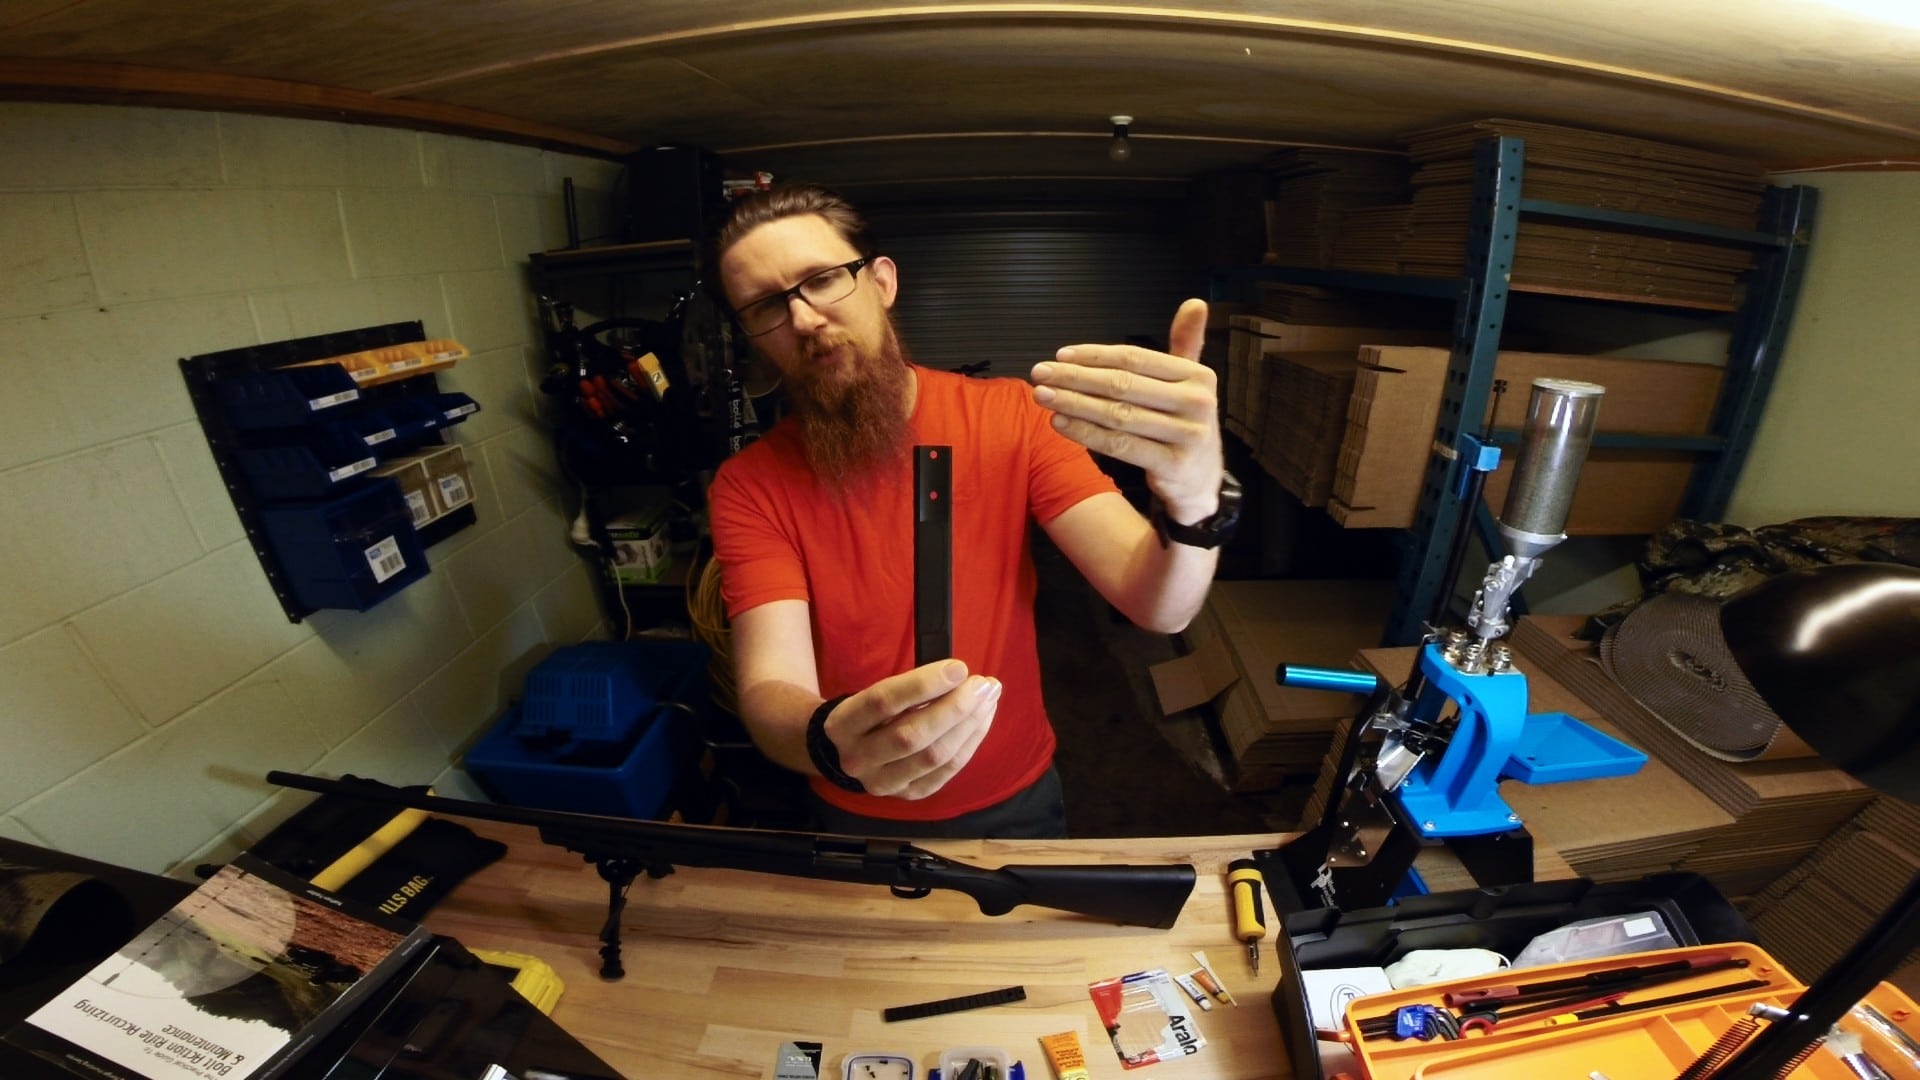
As always – with Nathan Foster’s excellent book I set to making my 700 as accurate as it can be.


You must be logged in to post a comment.